 1 | Project Setup & Templates
 2 | Data Structure
Part 1 | Paypal Buttons
Overview:
It is now time to integrate paypal checkout into our application. Paypal will give the user the ability to do quick checkout using their paypal account OR a Credit/Debit card..
Client Side integration Vs Server side integration.
There are two different ways we can integrate paypal. We can use server side integration which would handle things on the backend using python and the papal API, and there is the client side integration.
in this application we will be using client side integration which will process the payment on the front end, Then once the payment is complete we will send the confirmation to the backend to update the order status.
How paypal buttons work.
- You add the PayPal Smart Payment Buttons to your web page.
- Your buyer clicks the button.
- The button calls PayPal Orders API to set up a transaction.
- The button launches the PayPal Checkout experience.
- The buyer approves the payment.
- The button calls PayPal Orders API to finalize the transaction.
- You show a confirmation to your buyer.

Sandbox Account
We will first create everything using a sandbox account so we can test our entire process, then once everythings is confirmed you can change your client id to connect to a real paypal account.

Step 1 | Add Buttons
 00:02:50
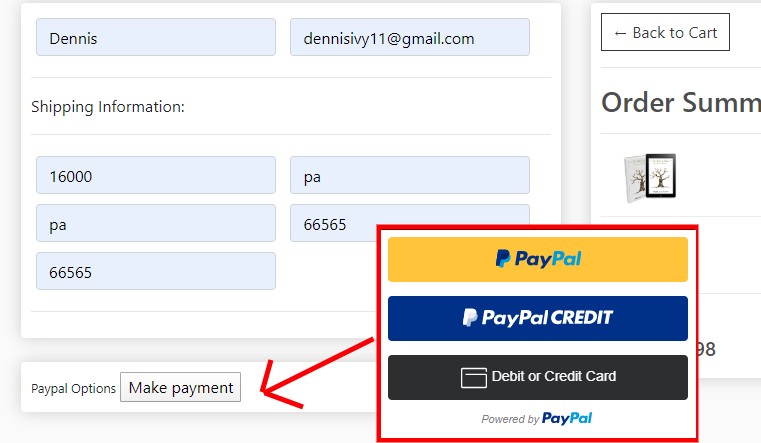
Let's start by adding some paypal buttons on our checkout page. We will want to replace the “Make payment” button with our new paypal buttons.
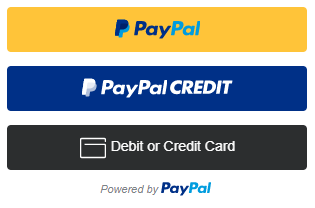
Paypal Buttons
To get these buttons go https://developer.paypal.com/demo/checkout and paste in the following code into our checkout.html page:
Paypal button container
Comment our OR remove the “make payment” button and replace it with an empty div containing the id of “paypal-button-container”. We will use this id to append the new paypal buttons.

Once we remove or comment this button out we want to make sure to do the same for the event handler we added in our javascript so we don't see an error in the console.

Script tag
Just above the javascript in checkout.html page add the following script tag for the paypal API.
<script src="https://www.paypal.com/sdk/js?client-id=sb¤cy=USD"></script>
This will give us access to the paypal checkout API. Remember, this code can all be found in the following link: https://developer.paypal.com/demo/checkout

Add JS code
Now that we have an empty div with the id "paypal-button-container" we need to add in some javascript that will insert our paypal buttons inside of it. This additional js code will create and add the buttons we need inside our empty div and will also handle all paymment logic when it comes time to do so.
Add the following code below the paypal script tag we just added BUT above our original JS code. For now we will keep it separated by keeping it inside its own script tag. If you need extra clarity on where this goes take a look at the source code and/or codeblock.
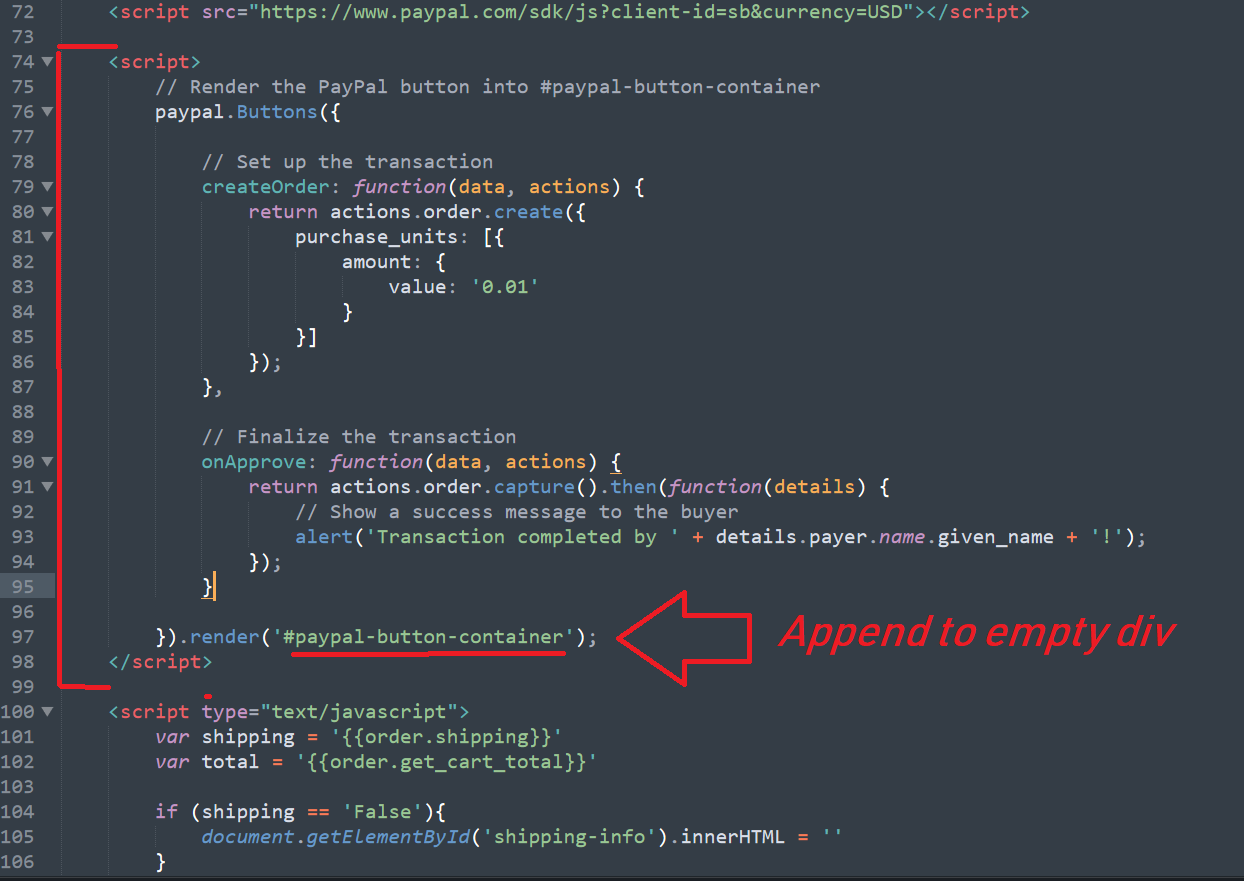
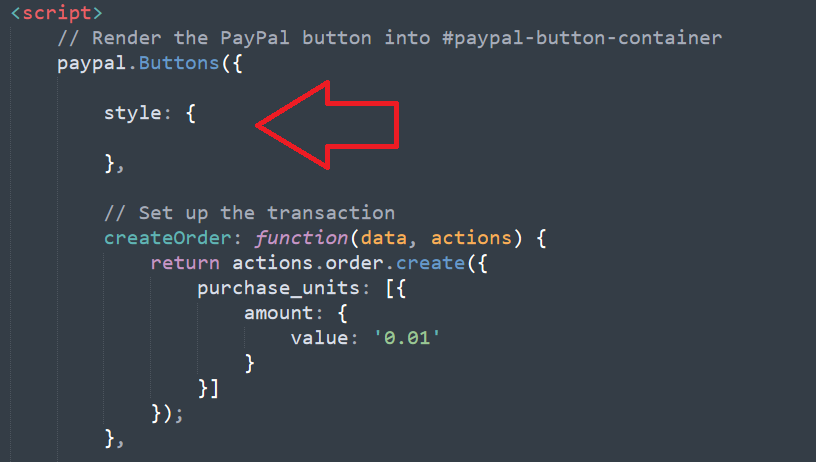
Pay attention to the “render” method at the end of our paypal.Buttons code. This is where we assign where the buttons should be added.
paypal.Buttons()
The paypal.buttons() method consists of two attributes/methods right now. createOrder which triggers an actual payment (amount set to 0.01 by default), and onApprove which is the action that takes place once a payment is complete.
We will first customize how these buttons look, then take care of setting a dynamic value for the amount along with sending payment data to the backend for confirmation.
View Source CodeStep 2 | Style Buttons
00:08:29
Let's add some custom styling to these buttons.
"style" object
We can start by adding the “style” attribute inside our “paypal.buttons” method, make sure it is above “createOrder” method.
Style attributes
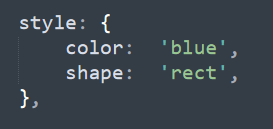
Now that we have “style” as a javascript object we need to add in some attributes to set the values for our buttons. I will add in my own styling below but you can find more options to use inside this link.
From the documentation I will use the “rect” attribute to give our buttons more rectangle look and set “color“ to blue. This will change our default buttons to have a blue theme.
Now our buttons should look like this:

Step 3 | Hide Buttons
00:10:03
This next step will be quick and is optional. I wanted to show you this so you can have a better understanding of how button customization works.
Disable Credit card option
Right now we have 3 buttons, let's say we wanted to remove the “PayPal Credit” option for whatever reason. There are a few ways we can do this but the method i will use is to add a parameter to the script tag we added and set the value of ” disable-funding=" to "credit” this will remove the credit card option from the buttons.

If we wanted to remove the debit/credit option we could also set this value to “card” instead of credit.