 1 | Project Setup & Templates
Part 8 | cart.html
Overview:
Let's go to cart.html and again clear out everything between our content block tags just like we did with store.html.
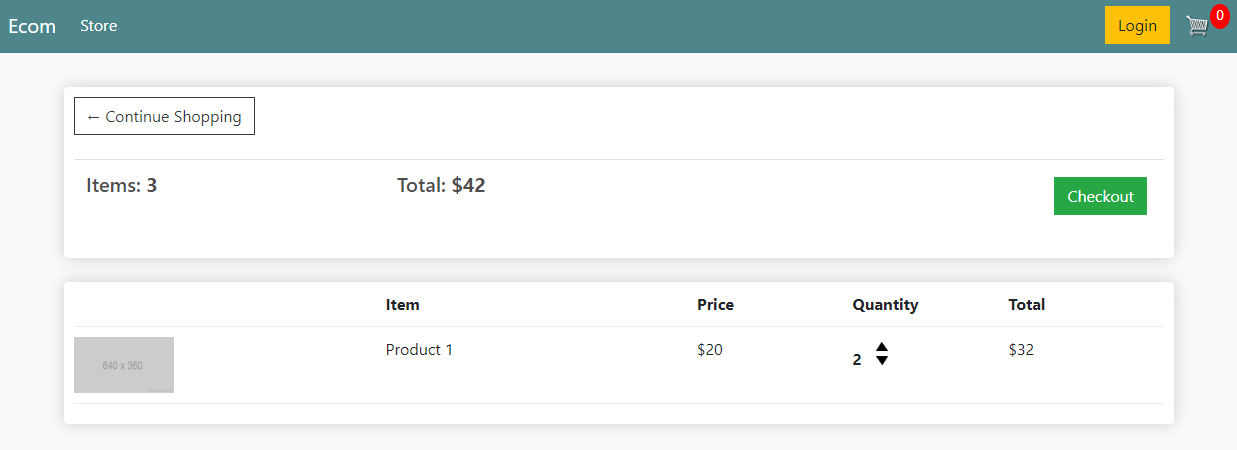
Here's what our cart will look like once we complete the next 3 steps.
Before we start be sure to download the two arrow icons below and add them to your static/images file
Click Image to download


Step 1 | Layout
 00:35:25
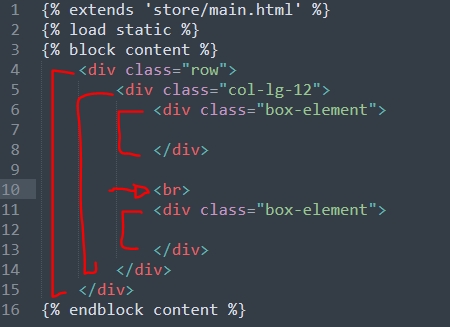
First thing we'll want to do is set a div with the class of "row" and inside that div create a full with column. To do that we want to give the child div the class of "col-lg-12". Inside the column create two divs with the class of "box-element" with a <br> tag in between them.
These two boxes will hold our page header and items we have in our cart.
Step 2 | Cart Headers
00:38:00
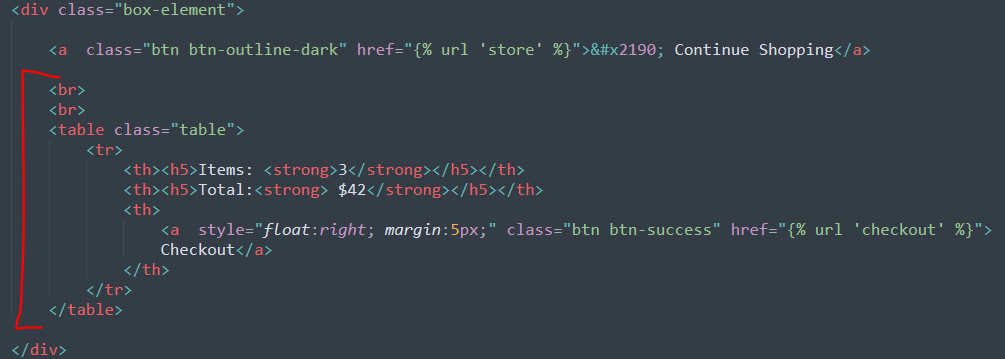
For our cart header we will add a back button to the home page to give the user the ability to continue shopping and a <table> for the layout.
So let's add a link with some Boostrap styling with the text "Continue shopping" along with a back arrow inside the first box element.

And underneath our back button let's add some break tags along with a table for cart data such as "Item's" and "Cart Total".
We also want to add a link to our checkout page.
Step 3 | Cart Rows
00:42:15
Now to finish this page all we need to do is add some cart rows.
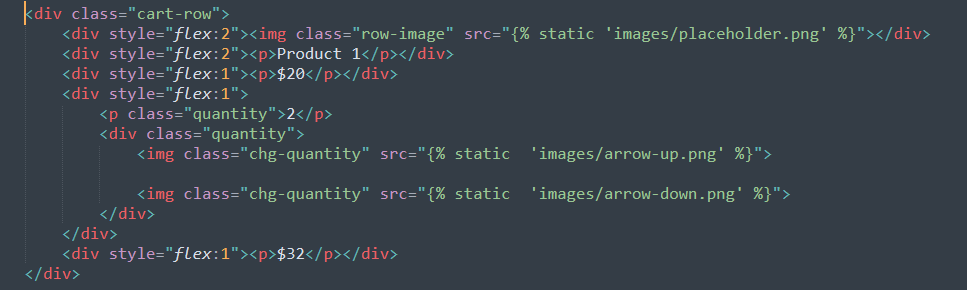
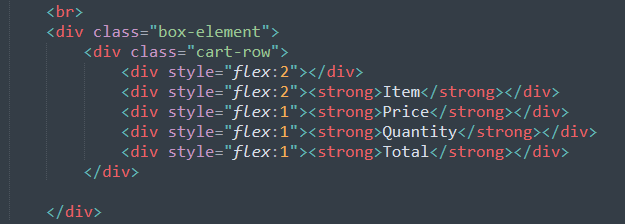
In the second box element we created add in a div with the class of "cart-row" (Custom CSS in main.css) and 5 divs inside "cart-row" to represent each column. We will be using flexbox grid inline to create separation and style the elements inline.
Now just underneath the cart-row we added, let's create another row that will represent the items each user has added to their cart.
This row will look similar to the first row but only now we will add in the placeholder image, same placeholder data and the arrows we downloaded earlier. These arrows will later allow the user to change the quanity or completely remove an item from their cart.
Again, we are using css from our main.css file so I advise you to study that file along with the source code I link up in each section.