
 1 | Project Setup & Templates
Part 6 | Navbar
Overview:
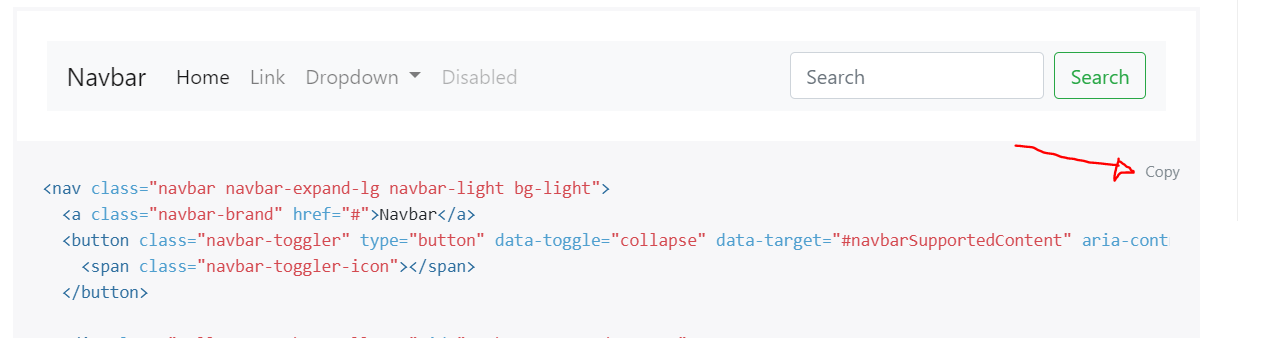
For our navbar we use something from getbootstrap.com and make some customizations to it after we get it installed. Go to the provided link and find the navbar that looks like the one below and copy the code.
You can also just use the source code I provided in the next step.

Step 1 | Bootstrap Navbar
 00:22:55
Copy all the code to the navbar and paste it just under the opening body tag in "main.html" and get rid of the placeholder navbar we had there.
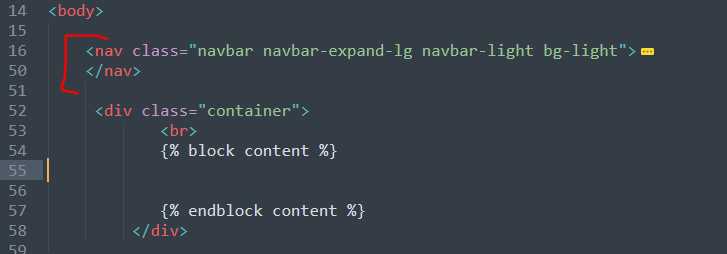
Take a minute to view your template to make sure you added the navigation properly.
View Source CodeStep 2 | Dark Theme
00:23:38
To change the color of the nav bar: change the class of "navbar-light" to "navbar-dark" and bg-light to bg-dark
Before:
<nav class="navbar navbar-expand-lg navbar-light bg-light">
After:
<nav class="navbar navbar-expand-lg navbar-dark bg-dark">
This is all still in main.html

Step 3 | Customize Navbar
00:24:08
We are going to customize the Bootstrap navbar we added to fit our needs. Below I will paste in the original Bootstrap code while highlighting the areas we are updating. Anything highlighted in red is what needs to be removed and green is what we are adding.
1 - Change title from "Navbar" to "Ecom" and set the url to our home page
2 - Remove extra links
3 - Remove form wrapper
4 - Create a div with the class of class="form-inline my-2 my-lg-0". This wrapper needs to hold the positioning of the original form but now hold our shopping cart link and a login button
5 - Create login button. We will leave the link empty for now until we create the login page
6 - Create link to cart page
7 - Inside cart link, add shopping cart image
8 - Add cart total in paragraph tag with the id of "cart total"
1View Source Code<nav class="navbar navbar-expand-lg navbar-light bg-light"> <a class="navbar-brand" href="{% url 'store' %}">Ecom</a> <button class="navbar-toggler" type="button" data-toggle="collapse" data-target="#navbarSupportedContent" aria-controls="navbarSupportedContent" aria-expanded="false" aria-label="Toggle navigation"> <span class="navbar-toggler-icon"></span> </button> <div class="collapse navbar-collapse" id="navbarSupportedContent"> <ul class="navbar-nav mr-auto"> <li class="nav-item active"> <a class="nav-link" href="{% url 'store %}">Store<span class="sr-only">(current)</span></a> </li>2<li class="nav-item"> <a class="nav-link" href="#">Link</a> </li> <li class="nav-item dropdown"> <a class="nav-link dropdown-toggle" href="#" id="navbarDropdown" role="button" data-toggle="dropdown" aria-haspopup="true" aria-expanded="false"> Dropdown </a> <div class="dropdown-menu" aria-labelledby="navbarDropdown"> <a class="dropdown-item" href="#">Action</a> <a class="dropdown-item" href="#">Another action</a> <div class="dropdown-divider"></div> <a class="dropdown-item" href="#">Something else here</a> </div> </li> <li class="nav-item"> <a class="nav-link disabled" href="#">Disabled</a> </li> </ul>3<form class="form-inline my-2 my-lg-0"> <input class="form-control mr-sm-2" type="search" placeholder="Search" aria-label="Search"> <button class="btn btn-outline-success my-2 my-sm-0" type="submit">Search</button> </form>4<div class="form-inline my-2 my-lg-0">5<a href="#"class="btn btn-warning">Login</a>6<a href="{% url 'cart' %}">7<img id="cart-icon" src="{% static 'images/cart.png' %}"> </a>8<p id="cart-total">0</p> </div> </div> </nav>
Step 4 | Custom CSS
00:27:12
RIght now our navbar will look pretty bad because of the shopping cart icon size and some layout issues, as i'm sure you've seen since the last step.
In the code block below I will paste in all the CSS we need for the entire project. We will paste this into our main.css file.
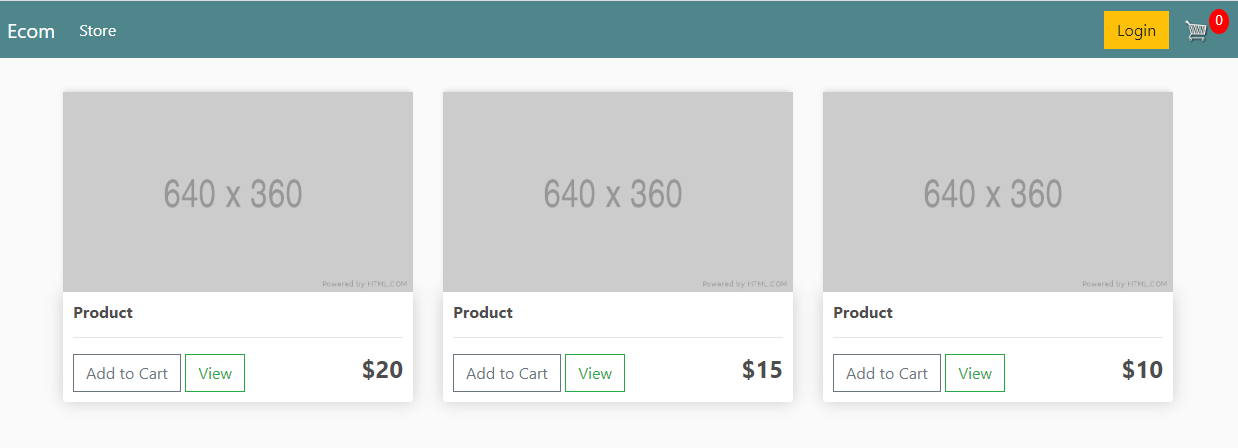
Once this code is added this is the result we should see on our website:

Summary:
Now that we have set up our main template and added to our main CSS file, all we need to do is close out this section by finishing up the base styling for our 3 pages with placeholder data before we move on to setting up our database.
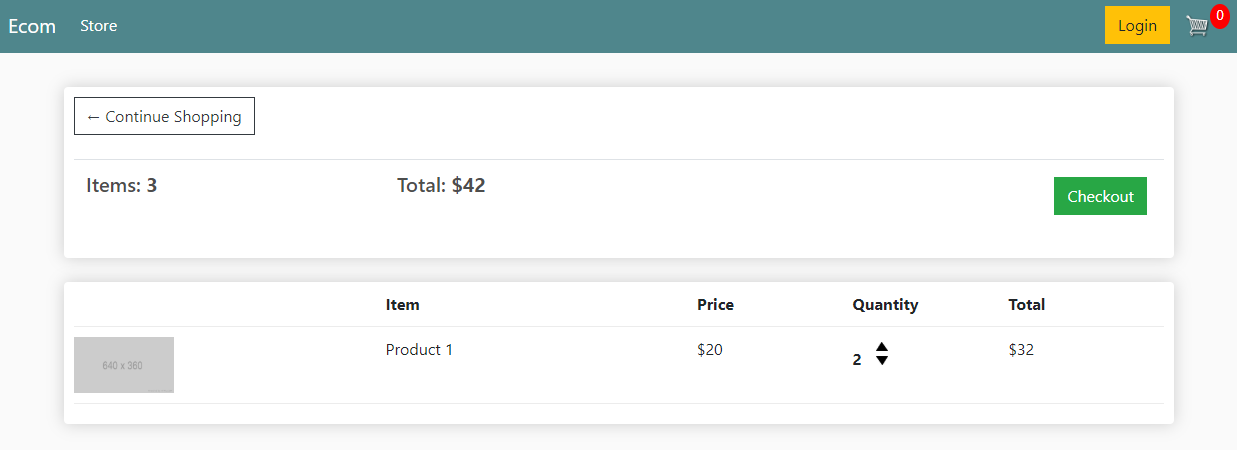
Here's a look at what we will complete in the next few sections.
store.html
cart.html
checkout.html
