
 1 | Project Setup & Templates
Part 7 | Store.html
Overview:
Store.html will be a fairly simple page. The entire page will consist of multiple rows and 3 columns per row that will hold product information. For the placeholder data we will create just one row and add some data.
Before we get started let's remove the placeholder title we had so we have nothing between the blocks.
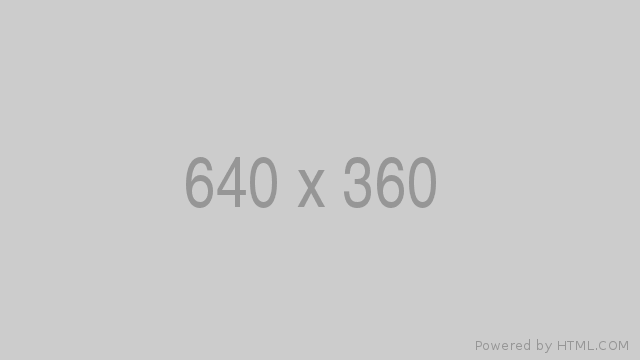
Also download the image provided below and add it to your state/images folder.
Click Image to download
Step 1 | Layout
 00:28:22
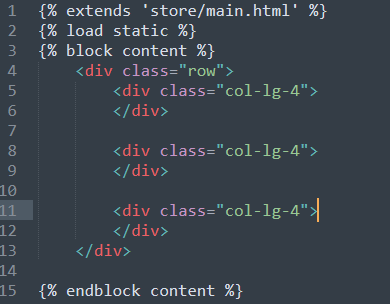
The first thing we will want to do is create a div for our row and 3 columns. Remember we are using Bootstrap so give the outer div the class of "row" and the 3 divs inside the row the class of "col-lg-4".
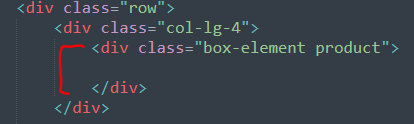
Now inside each column create a div with the class of "box-element" and "product". I styled "product" and "box element" in main.css file so refer to that for customization.
Once you have added the row, 3 columns and 3 boxes your page should look like this:
![]()
Step 2 | Placeholder Content
00:30:40
Now let's just add the placeholder image for the product along with some buttons, a title and some more styling.
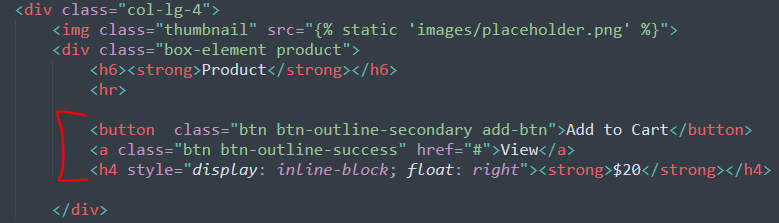
Inside each column, just above the box div lets add in our placeholder image.

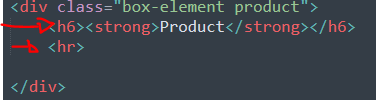
No inside each box-element div lets add in a title and an <hr> tag for separation.
And to finish it up let's add a button, link and tilte with some Bootstrap classes for styling. We will take care of the links and functionality later.
Summary:
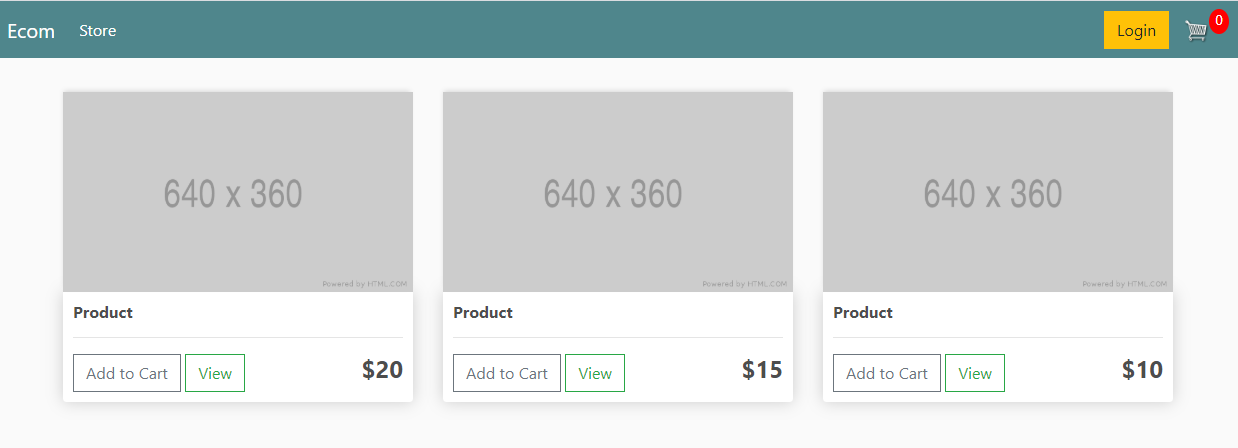
If you added everything correctly you should now see this layout when you open up store.html.