Part 2 | Render Products
Overview:
Before we add the image field to our product model, let's first render out the products we added to our database to replace the filler data in the template.
Step 1 | Query Products
 00:17:53
In our apps views.py file, let's first import all our models and then query the products within our store view. Don't forget to add "products" into the context dictionary.
View Source CodeStep 2 | Render Products
 00:18:50
1 - Loop Through Products
In store.html, let's remove 3 of the 4 columns we had and create a for loop around the one remaining column.
Just inside our row and above the column div start the for loop {% for product in products %} and close the loop just underneath the closing tag of the column div but still inside the row {% endfor %}
2- Replace Fields
- Product Price
- Product Name
Now inside the column, replace the filler data with the product data. We’ll add the floatformat tag to our price so we don't get any funny values.
The image field will remain the same until we add the image field to our product model.
View Source CodeSummary:
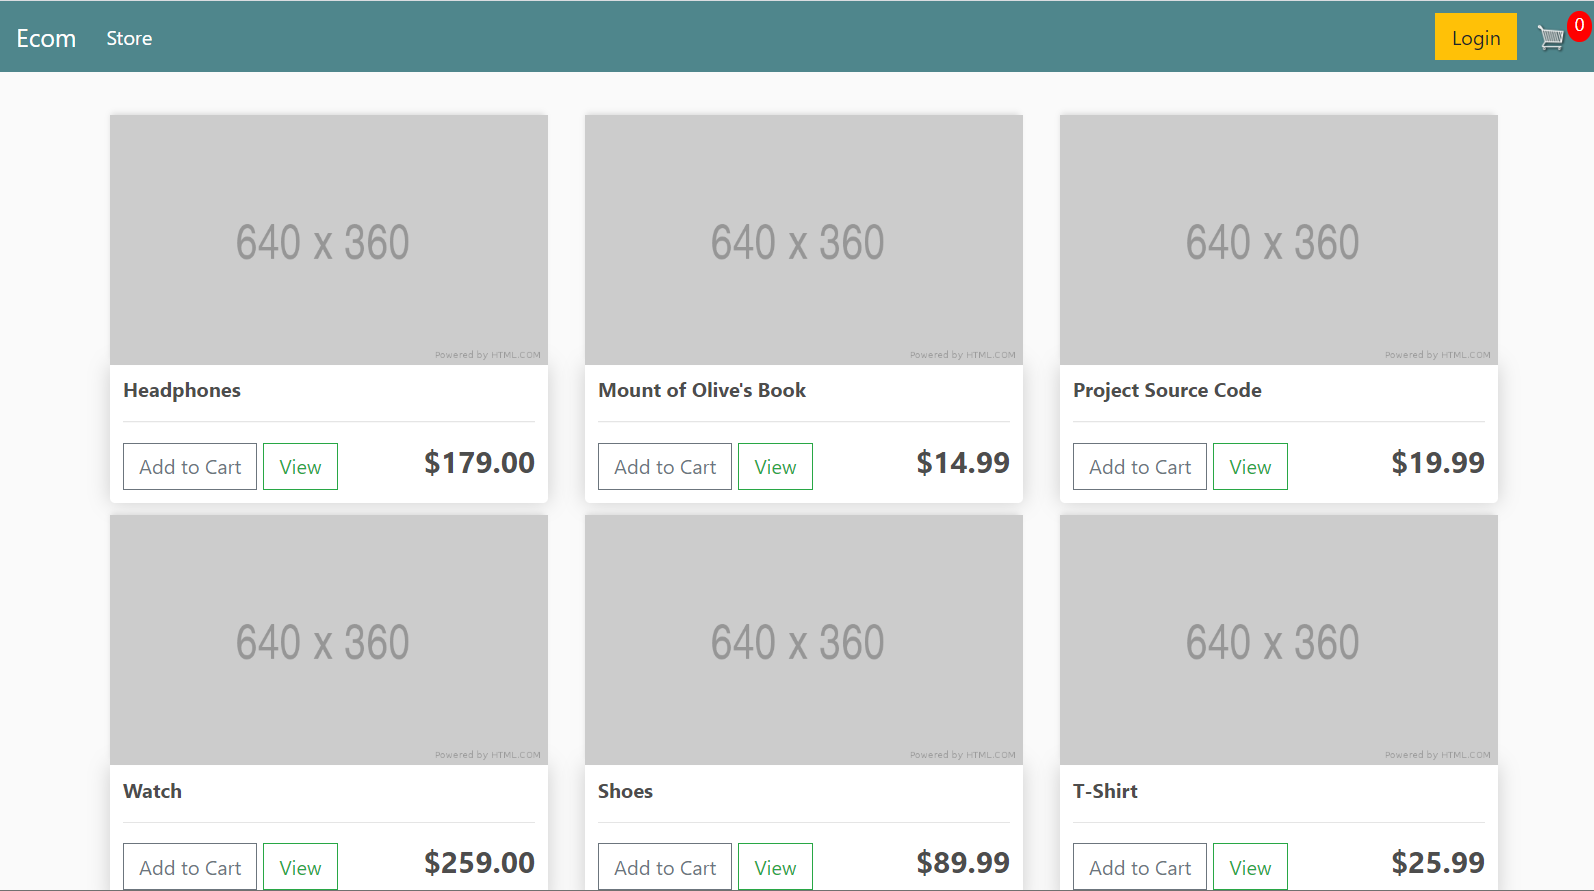
Right now this is what our page should look like with the products we added to our database.
← Previous: Part 1 | Models Next: Part 3 | Product Image Field →

 1 | Project Setup & Templates


