Part 3 | Product Image Field
Overview:
Ok, so now it's time to add the image field to our model.
I left this part out earlier because the image field has its own configuration we need to set up so this way we can focus on it in a single part.
Before we get started I will link up six product images for you to use if you're following my setup. Click each image individually and download them somewhere you can easily access them. DON'T add them to your static files, this will be done automatically with the imagefield when we upload them.
Download Images
Step 1 | ImageField()
 00:22:23
1 -Add ImageField()
In your modles.py file add “image” to your “Product” model.
2 - Pip Install Pillow
Before we run the migration, if you save the file and check your command prompt you will see this error appear telling us we need to install “Pillow”
Pillow is the Python Imaging Library that basically let's us add the imagefield to our model. You can see the documentation in the link I provided.
Go ahead and run pip install pillow and then the error should go away.
3 - Run Migrations
Now you can run mirgrations to add the new field
Python manage.py makemigrations
Python manage.py migrate
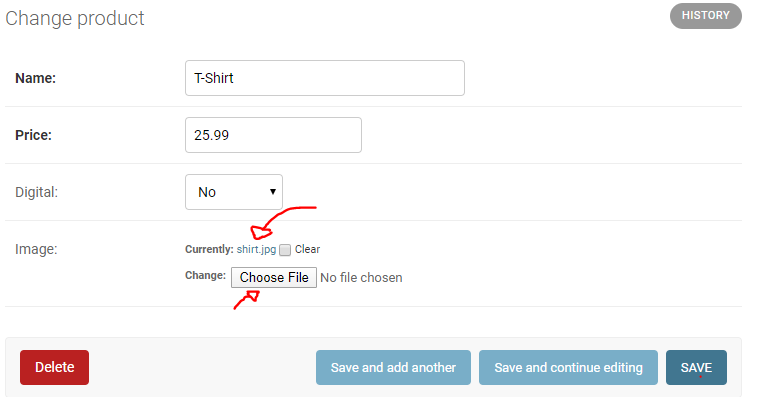
You should now see the imagefield in your admin panel. There is still some more configuration we need to do so don't try to upload any images just yet.
View Source CodeStep 2 | MEDIA_ROOT
 00:25:08
At this point we have not configured a file for the images to be uploaded to. Let’s take care of this so that anytime an image is uploaded it goes into our images folder inside of our static files.
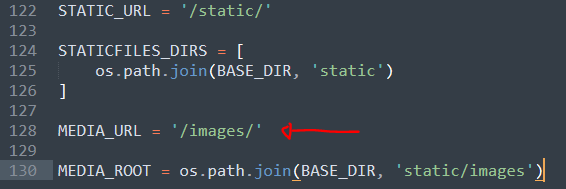
In settings.py just underneath STATICFILES_DIRS let's set the MEDIA_ROOT. Media root will set a path for all media files to be uploaded to.
Go ahead and copy my code just like in the image or code block.
We use os.path.join(BASE_DIR) to set the file path to the root directory, then we add static/media. This gives us a direct path to the images folder for images to be uploaded to.
Add Images To Products In Admin Pannel
Now if you go back the the admin panel and upload an image to the image field it should appear in the images folder.
Go ahead and upload an image to each product and we’ll take care of dynamically rendering these in the next step.
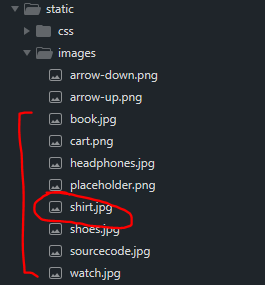
Uploads appear in static/images because of our media root configuration.
View Source CodeStep 3 | MEDIA_URL
 00:27:14
Right now our images get uploaded to the right folder but we still need to configure a url path to find these images so they can be rendered properly.
Just above the MEDIA_ROOT variable in settings.py let's add MEDIA_URL.
Set MEDIA_URL to ‘/images/’ to point this to our images folder.
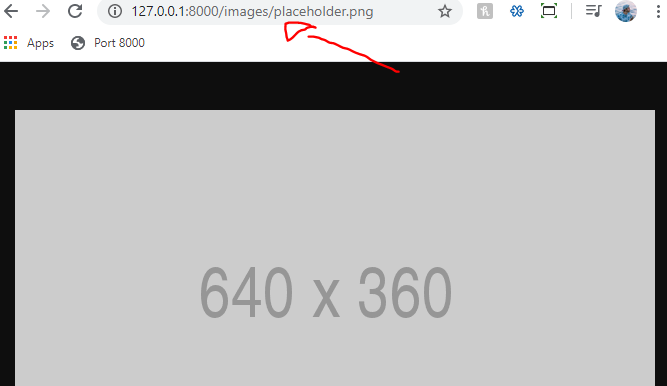
This will set the media root to always start at “images/image_name”. We can test this in a browser soon but first we need to configure our urls.py file to set up these image urls.
Step 4 | Urls.py Configuration
 00:28:03
In your root urls.py file let's first import static and settings like the image below.
1 - Imports
2 - Add URL Path
Now we want to use static to add in our MEDIA_URL as a file path. Just underneath our url patterns, let's add another path by doing urlpatterns += static()
Inside static add in the MEDIA_URL from settings and set the document_root
This configuration should now give us the ability to access image by using paths provided in the example below
View Source CodeStep 5 | Render Images
 00:29:49
Now it's time to actually render these images from our models.
Traditionally we could just go to our store.html template and replace the file path in our placeholder image to our image in store.html. Like so:
While this may work and would render out our images, we would face an error if one of our products didn’t hold an image. You can test this by replacing our placeholder image in store.html, view the page to ensure the images get rendered, and then removing an image to one of our products.
This is the error you will see when loading the page.
We'll add a work around to this issue in the next step.
Step 6 | Image Error Solution
 00:30:53
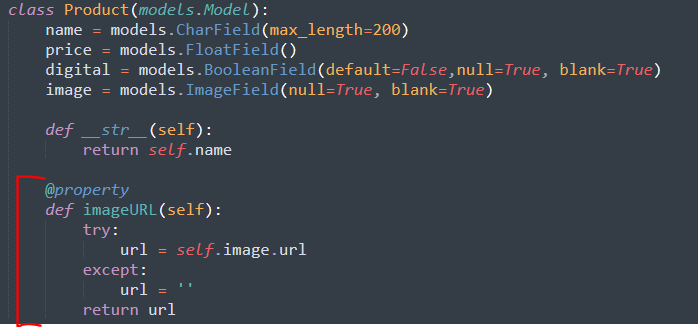
Instead of calling the image url directly like we did in our template (product.image.url) we want to use a model method to either render an image or an empty string so we don't get an error on the front end.
1. Add imageURL Method
In models.py, let's add a model method to the product attribute and call it “imageURL”. We will add the @property decorator so we can access it like an attribute.
Inside the method all we will do is use a try/except block to see if the instance has an image, if not we will just return an empty string.
2. Call imageURL method
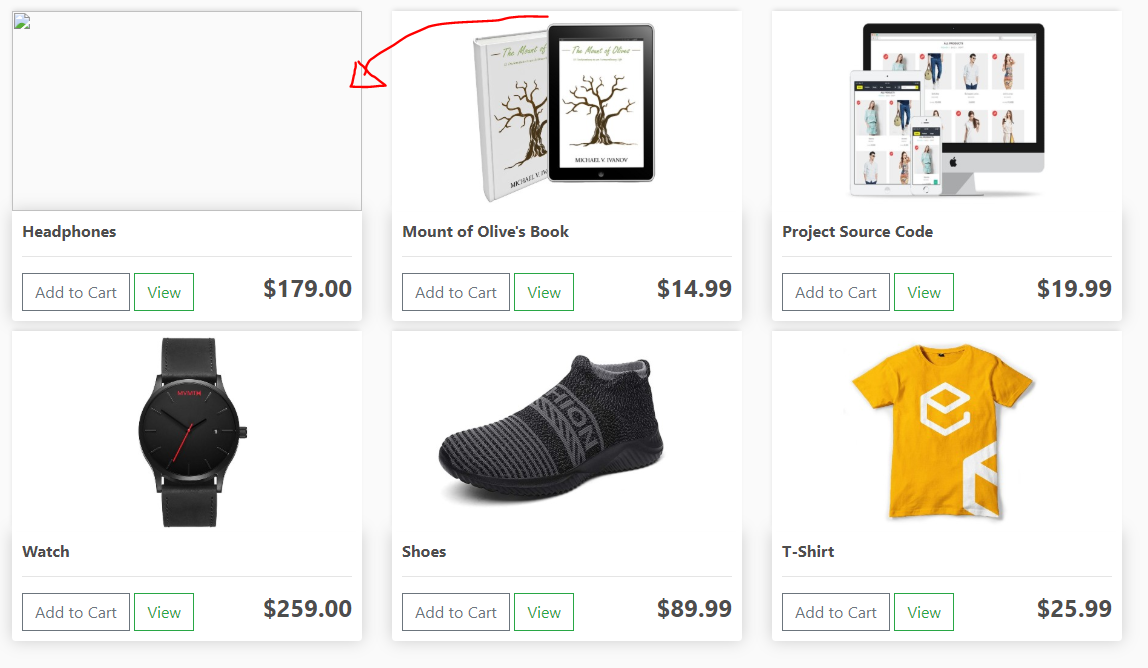
Now in our template instead of calling “product.image.url” we can simply call “imageURL”
It's better to get the result below when a model is missing an image than that nasty error you saw in the last step.
Because we just worked with two different files I will add a section of both models.py and store.html bellow.


 1 | Project Setup & Templates
